Backing up Nextcloud to Backblaze
In a previous post I shared how and why I migrated my data from Google Photos/Drive to Nextcloud hosted by Hetzner.
One piece missing was backups: Wile Hetzner takes snapshots multiple times per day, which would allow me to roll back the entirety of the Nextcloud install to a previous version, these are not backups. Among others, I wouldn’t be able to restore an individual file. Nor does Hetzner have any support for external / third party backups. I consider these important, as a ‘Plan B’ should I wish to migrate away from Hetzner, or should they fail, or kick me off.
Since I am not self hosting Nextcloud, I had to be somewhat creative:
Backup strategy
The aim is simple: I want a backup of the data in my Nextcloud instance in a B2 bucket on Backblaze.
Thankfully, Nextcloud supports WebDAV, and rclone supports both WebDAV and B2, so I’m using rclone installed on a separate VPS (that also hosts my Mastodon instance’s Elasticsearch).
Unfortunately it’s not possible to back up my Nextcloud database while I’m with Hetzner. So data such as user account, tags, etc would be lost, if I had to move provider.
Preparing everything
The following few paragraphs walk through the configuration of Backblaze, Nextcloud, and rclone in some detail. If you know what you are doing, you may wish to skip straight to the Backup script section.
Setting up Backblaze B2
You firstly need to create your B2 bucket: Log in at backblaze.com, navigate to ‘Buckets’ and create your bucket.
Secondly, you’ll need to create a new set of credentials that rclone will use to connect:
- Go to Application Keys page
- Click Add a New Application Key
- Give it a name
- Click Create New Key
On the next page, you will see both a keyID and an applicationKey. Note them both down.
Setting up Nextcloud
Firstly, you’ll need to get your WebDAV address. You’ll get this by navigating to your Nextcloud’s Files app. Go to ‘Files settings’ at the bottom left. You’ll find you WebDAV url which will look something like https://example.com/remote.php/dav/files/user. Take a note of that.
Secondly, because I have 2FA enabled on my Nextcloud instance, I needed to set up an application password:
- Your icon at top right > Personal Settings > Security
- Scroll to the very bottom under the heading ‘Devices & Sessions’
- Enter a value for ‘App Name’ (e.g.
rclone backups) - Click Create new app password
This will generate a new password for you. Note it down.
Install rclone
Now ssh into your VPS, or whatever other machine you want to run rclone on. This doesn’t need to be a VPS: You could run it on your home computer. Or on a Raspberry Pi. Or anything else, really.
But I have it running on my VPS, because my home internet is crap, and I didn’t want to have to rely on that for backups.
Assuming you are on Linux/macOS/BSD, the simplest way of installing rclone is by using their installer script:
$ sudo -v ; curl https://rclone.org/install.sh | sudo bash
However, you really shouldn’t pipe a random script downloaded from the internet into bash (much less into sudo bash), so you may wish to have a look at the rclone install instructions for more details
Configure rclone
We’ll have to set up two removes with rclone: One for Backblaze, one for Nextcloud. If you want to backup multiple users, you need to set up one Nextcloud remote per user as well (and get them to give you their app passwords).
To get started, we set up the Backblaze config. This has a pretty good interactive configuration wizard:
$ rclone config
No remotes found, make a new one?
n) New remote
s) Set configuration password
q) Quit config
n/s/q> n

Enter name for new remote.
name> b2

Option Storage.
Type of storage to configure.
Choose a number from below, or type in your own value.
 [...]
 6 / Backblaze B2
   \ (b2)
[...]
Storage> b2

Option account.
Account ID or Application Key ID.
Enter a value.
account> {Enter your keyID}

Option key.
Application Key.
Enter a value.
key> {Enter your applicationKey}

Permanently delete files on remote removal, otherwise hide files.
Enter a boolean value (true or false). Press Enter for the default (false).
hard_delete>

Edit advanced config?
y) Yes
n) No (default)
y/n> n

Configuration complete.
Options:
- type: b2
- account: {keyID}
- key: {applicationKey}
Keep this "b2" remote?
y) Yes this is OK (default)
e) Edit this remote
d) Delete this remote
y/e/d> y
When you are done, you can test that this works by running rclone ls b2:. This should just give you an empty directory listing (unless you have existing files in your bucket).
Next up, we’ll be configuring the Nextcloud connection:
$ rclone config

Current remotes:

Name                 Type
====                 ====
b2                   b2

e) Edit existing remote
n) New remote
d) Delete remote
r) Rename remote
c) Copy remote
s) Set configuration password
q) Quit config
e/n/d/r/c/s/q> n

Enter name for new remote.
name> nextcloud

Option Storage.
Type of storage to configure.
Choose a number from below, or type in your own value.
[...]
52 / WebDAV
   \ (webdav)
[...]

Storage> webdav

Option url.
URL of http host to connect to.
E.g. https://example.com.
Enter a value.
url> {your WebDAV URL e.g. https://example.com/remote.php/dav/files/user}

Option vendor.
Name of the WebDAV site/service/software you are using.
Choose a number from below, or type in your own value.
Press Enter to leave empty.
[...]
 2 / Nextcloud
   \ (nextcloud)
[...]
vendor> nextcloud

Option user.
User name.
In case NTLM authentication is used, the username should be in the format 'Domain\User'.
Enter a value. Press Enter to leave empty.
user> {your Nextcloud user name (not email address)}

Option pass.
Password.
Choose an alternative below. Press Enter for the default (n).
y) Yes, type in my own password
g) Generate random password
n) No, leave this optional password blank (default)
y/g/n> y
Enter the password:
password: {enter your app password}
Confirm the password:
password:{enter your app password}

Option bearer_token.
Bearer token instead of user/pass (e.g. a Macaroon).
Enter a value. Press Enter to leave empty.
bearer_token>

Edit advanced config?
y) Yes
n) No (default)
y/n> n

Configuration complete.
Options:
- type: webdav
- url: {your WebDAV URL}
- vendor: nextcloud
- pass: *** ENCRYPTED ***
- user: {Your Nextcloud user name}
Keep this "nextcloud" remote?
y) Yes this is OK (default)
e) Edit this remote
d) Delete this remote
y/e/d> y
You can test this, too, by running rclone ls nextcloud: - you should get a directory listing of all your files within Nextcloud.
Create a backup script
With that out of the way, let’s create a script that will do the backup:
$ nano ~/backup.sh
Your text editor nano will open: Past the following content
#!/usr/bin/bash
rclone sync \
  nextcloud: \
  b2:your-bucket/your-directory \
  --backup-dir=b2:your-bucket/your-directory-incrementals/`date +%Y%m%d.%I%M%S` \
  --verbose \
  --progress \
  --fast-list \
  --check-first \
  --dry-run
Hit the key combination CTRL + X to exit nano. Press Y to indicate you wish to save your changes, and then Enter to confirm the filename.
What do these options do?
rclone syncmakes the destination (your b2 bucket) identical to the source (your Nextcloud files)nextcloud:is the name of your source remote. If you only want to back up one directory, you can add the directory after the:.b2:your-bucket/your-directoryis your backup destination: replaceyour-bucketwith the name of your B2 bucket, andyour-directorywith the name of the directory that you want to store your backup in (the directory doesn’t need to exist).--backup-dir=b2:your-bucket/your-directory-incrementals/`date +%Y%m%d`This ensure that if any file gets updated or deleted as part of thesync, it’ll be moved into a directory with a timestamp. This way you can make sure you don’t lose data, and can restore historical versions. If you use this option, you’ll probably want to set up some purge script to periodically delete old data.--verbosesimply prints out what’s going on, so that you can keep an eye on it.--progressdisplays a summary of progress.--fast-listallows for more efficient directory listing, at the expensive of a slight increase in memory usage.--check-firstwill first check every file to determine whether it needs backing up, and only afterwards start the actual backup. I found that this significantly sped up the backup process for me.--dry-runThis will make sure that no changes are actually being made: We just want to observe what’s going on, so that we can be sure everything is alright.
Now, go ahead and execute this script, to ensure you are happy with the output:
$ chmod +x ~/backup.sh
$ ~/backup.sh
If all looks good, remove the --dry-run flag from the backup.sh file, and run again until finished. This will likely take a very long time (It took about 2 days for me), so you may wish to run it with tmux so you can simply reconnect if your ssh connection drops.
Schedule your backup
Once the backup has run once, you’ll want to schedule it to run regularly, e.g. once per day. We’ll use a cron job for this:
$ crontab -e
will open your crontab editor. Scroll to the bottom, and insert the following line:
0 0 * * * ~/backup.sh
Hit the key combination CTRL + X to exit nano. Press Y to indicate you wish to save your changes, and then Enter to confirm the filename.
Your backup should now be running once a day at midnight.
Bonus: Monitoring your backups
You now have backups, and that’s good. But the one thing that’s worse than no backups, is to think you have backups, but then it turns out the backup failed and you never knew. As time goes on, this becomes increasingly more likely. Will you still remember to occasionally check on your backups in a year’s time?
So we really want to make sure we get notified if the backup fails. I’ve used healthchecks.io for quite some time to monitor cron jobs like this. Healthchecks.io is really simple: They give you a URL to call at the end of your cron job to indicate successful completion. If that URL doesn’t get called, healthchecks.io will alert you via email, and you can then investigate.
To get started, set up your healthcheck. You’ll be able to supply the schedule this task is supposed to run in (you can simply copy and paste your cron expression 0 0 * * *), as well as a grace period. Since backups can be slow, I recommend setting this to at least an hour or more.
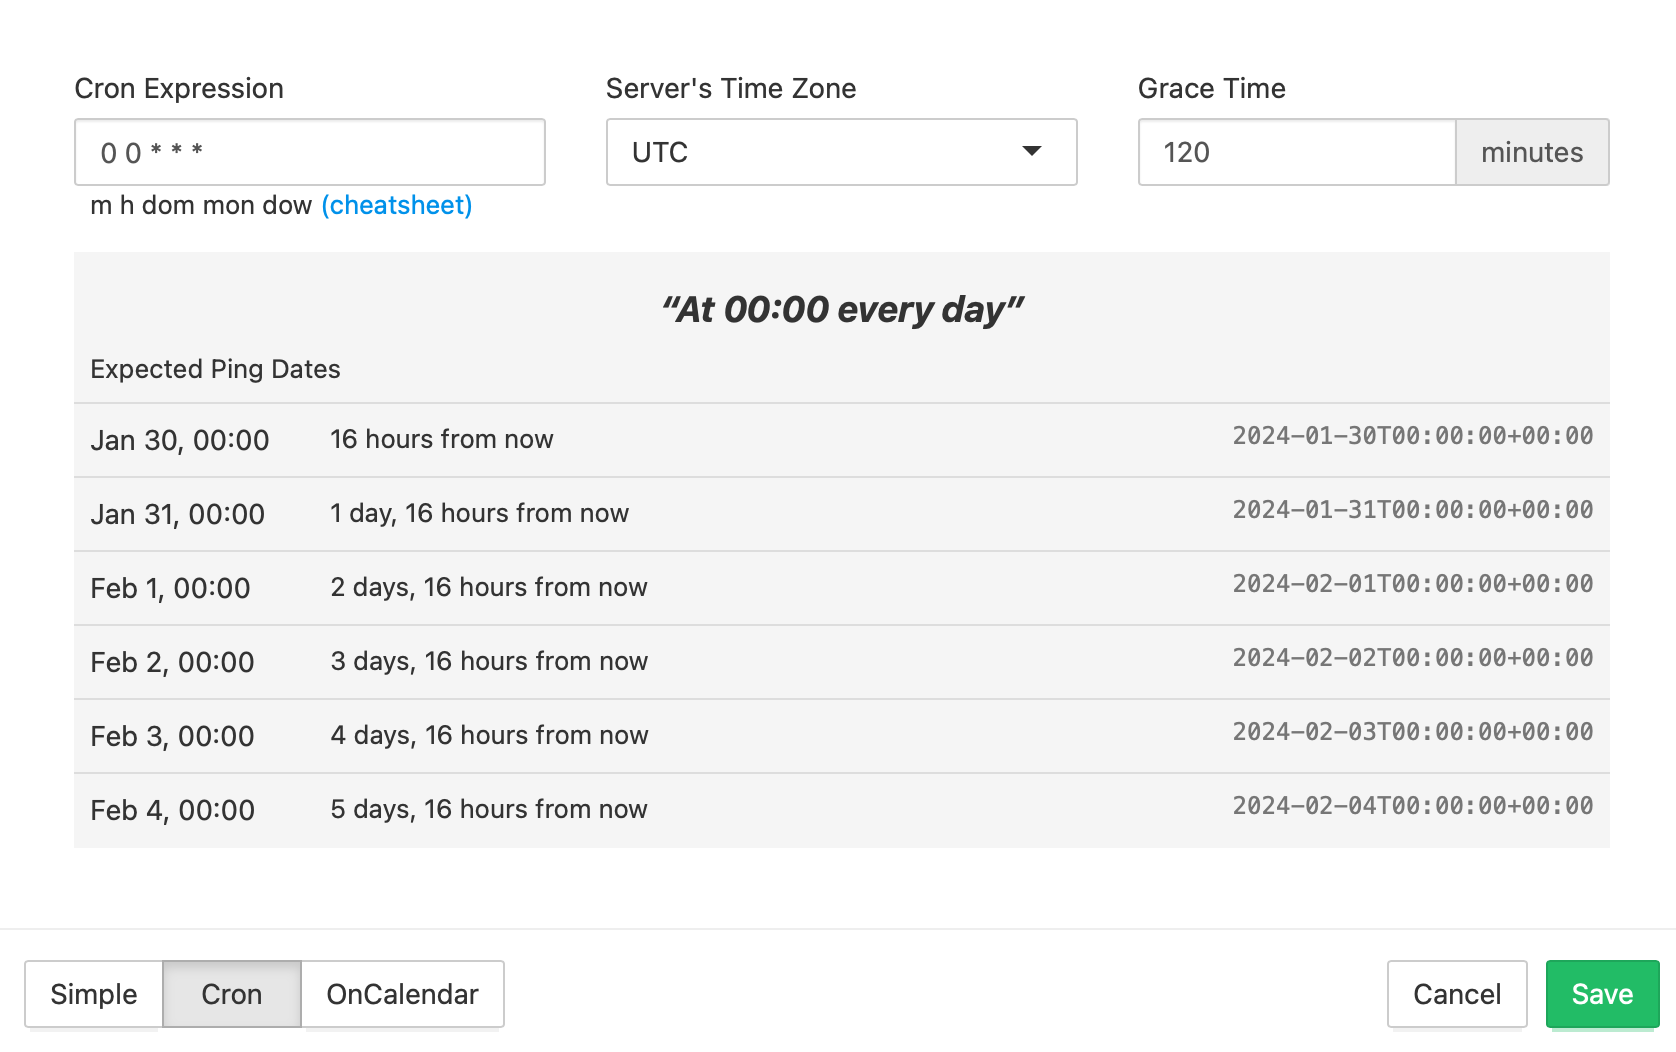
At the end you are given a ping url that looks like this https://hc-ping.com/03aede42-8d3d-5w1f-7352-a344dasas, but with your own UUID.
Now edit your ~/backup.sh file to look as follows:
#!/usr/bin/bash
rclone sync \
  [.. all of your other flags ...]
  --check-first &&
curl -fsS -m 10 --retry 5 https://hc-ping.com/03aede42-8d3d-5w1f-7352-a344dasas
(Replace your ping URL in the last line.)
The && on the second last line is crucially important: without that, your ping may be called even if the backup fails!
And that’s how I back up my data from Nextcloud hosted on Hetzner’s Storage Share. It’s not ideal, as the database (which contains tags, comments, shares, etc) isn’t being backed up, but my main concern was to back up the data itself.